Let me prelude this with the fact that NO, I am not making my own wedding cake. We hired an AMAZING baker in LA to do that and I'm so excited to see/taste it on the big day.
I MAY however be helping with a friend's cake and trying this technique out for some parties and GTGs in the future.
Kimberly and I got together this past Thursday for a fun, girlie "DIY Night." We've gone through the 12-step program to fully admitting to our Martha-esque home-body girlyness and now we're here to share our findings with the world. Findings:
COVERING A CAKE WITH FONDANT ICING IS SOOOOOOO EASY!!!
Gone are the days of me practicing my Wilson Cake Decorating methods with just butter cream (that I learned when I took a class that my mom enrolled me in when I was 12)!!
We didn't have a lot of time because I had to pack last minute to leave town... so we decided to try on the smallest cake possible... for technique purposes. Here we go:
1. Start with a pre-made cake from Publix or Kroger or your neighborhood grocery store. This 9" round single-layer cost us a whopping $7! Remove any decorations and smooth out the butter cream icing. 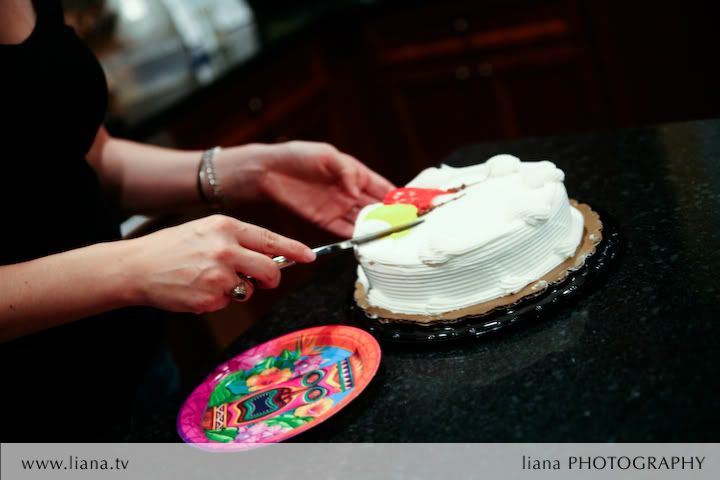
2. Smooth out the butter cream but leave at least a thin layer - the fondant needs this layer - it has to stick to something!! When you're done, stick it in the freezer or fridge to make the cake firm.
You can buy pre-made fondant at Michaels and other craft stores or order better-tasting stuff from a place like Cooks Dream. You'll also need a fondant roller which is generally longer and less-porous than a rolling pin. 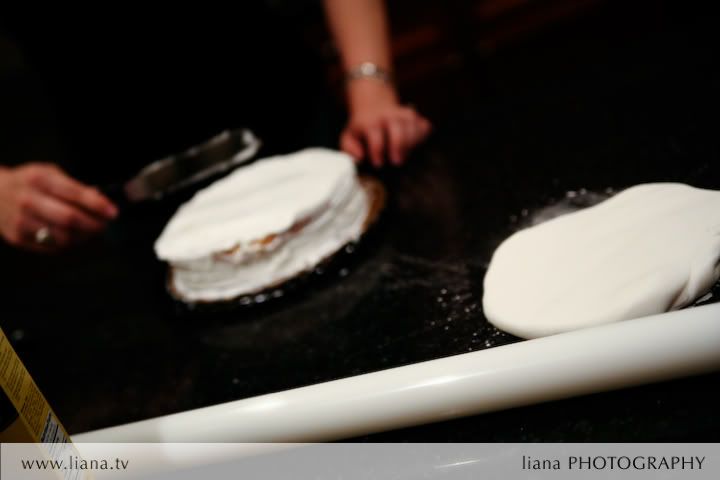
3. Remove the fondant from it's package and kneed it to "warm it up." Then sprinkle some corn starch on your surface to keep it from sticking. Roll out the fondant until it's as thin as you desire (usually 3mm thick more or less). It's like working with play-dough! 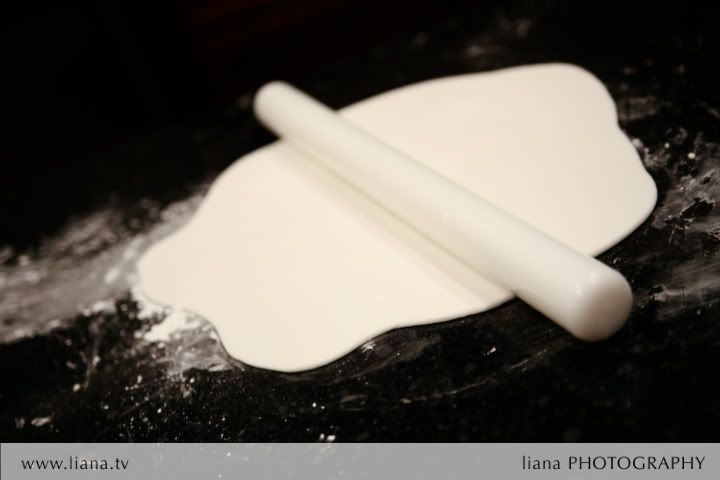
4. Now it's time to put it on the cake. Place the cake next to the fondant and roll the fondant onto your fondant-roller. This makes for easy transfer without tearing it. Then simply unroll the fondant over top of the cake and adjust. 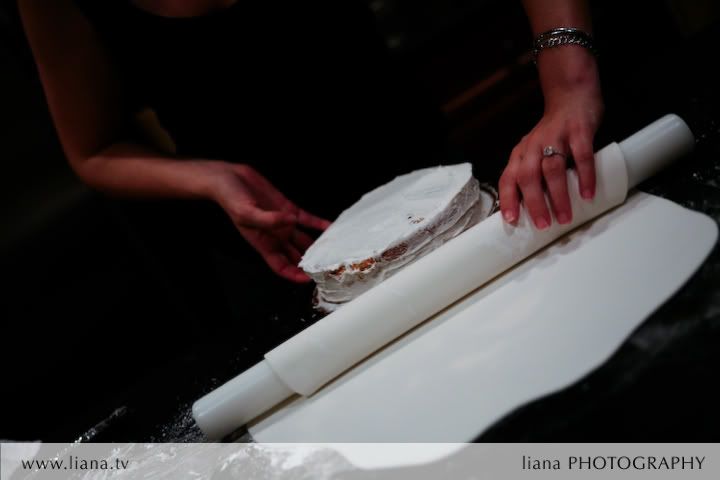
5. Now here's the most difficult part (but really it was surprisingly easy!)... the application and smoothing of the fondant. I found this video online from Planet Cake that shows how to do the technique (the whole process really!)
6. Next you cut off the excess with a knife.
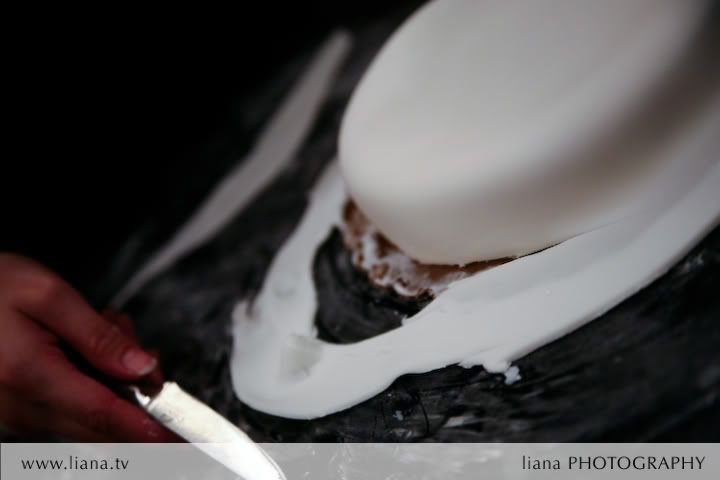
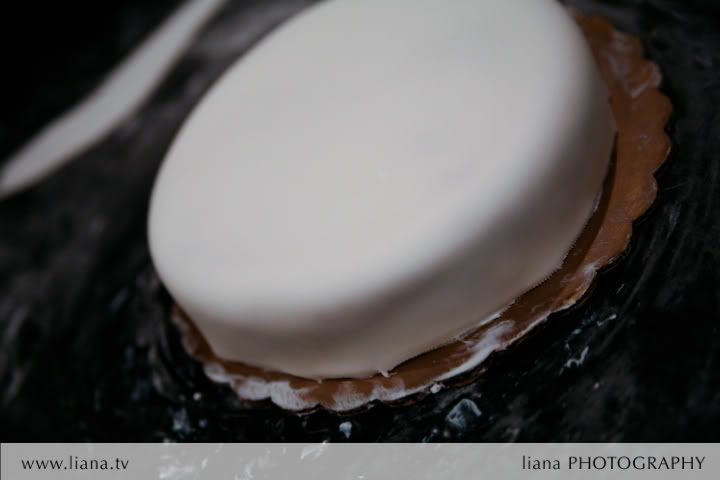
7. We then cleaned up the bottom and transfered it to another cardboard. For a "real" cake we'd probably put it on a cardboard the SAME size as the cake so you don't see it at all.
8. Then it's time to decorate!! We had some fun playing with the fondant but since we were out of time we quit before it got too pretty so we could sample a bite before the night was done. Tah-dah!!
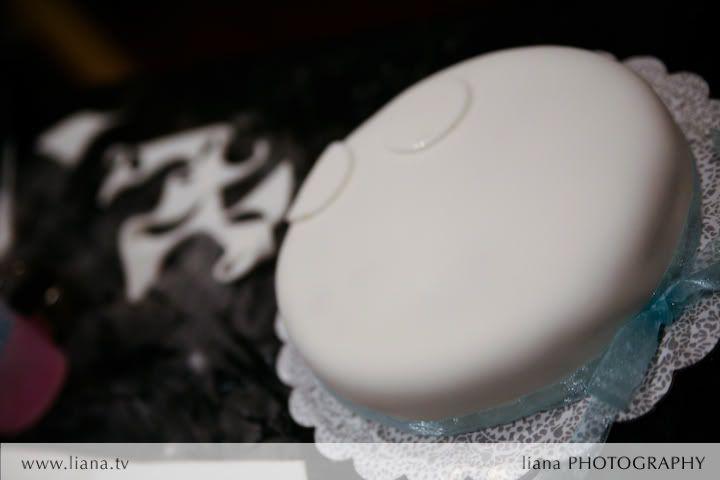
My only wish was that pre-made fondant was better-tasting. It's best described as sugar the consistency of gum to chew. Ewwee. But oh-so-pretty!!


5 comments:
What's wrong with making your own wedding cake??????? September 24, 2008 at 10:57 AM